A Document AI model is a trained and published model that is consumable as an API and can be easily integrated with any third-party systems.
A Document AI “Classifier Asset” is a trained model for document classification that can contextually identify and categorize various types or classes of documents e.g. Invoice, claims form, driving license etc, regardless of their structure, layout, or format.
Users must have any one of the following policies to create a Classifier Asset:
- Administrator Policy
- Creator Policy
This guide will walk you through the below steps on how to create your first Classifier Asset.
Step 1: Create a document set
The first step in creating an asset is to add documents to the Document library. Read Upload documents section to know how. If you already have an existing document set in the document library, you can skip this step and proceed to Create an asset.
Step 2: Create an asset
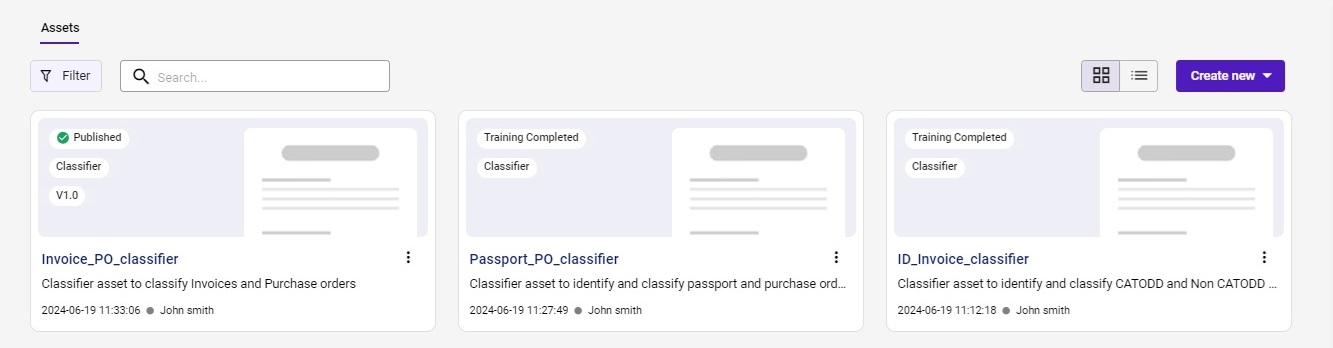
You can create assets using our Asset Studio.
- Head to the Asset Studio page, click Create Asset, and then choose Classic AI.
- In the Classic AI window that appears, enter a unique Asset name.
- Optional: Enter a brief description and upload an image.
- In Document type, you can create a new Document type on the go or select from an existing Document type.
- To create a Document type, enter the name of the Document type that you wish to create and then press Enter key.
- To select an existing Document type, search for the Document type and choose from the available results.


Note: You must create or select a minimum of two Document types for creating a Classifier asset. If you wish to classify a single Document type, then create another Doc type as ” others” which you may reuse for other classifiers also.
Nature of document
This option is only applicable when you create a new Document type.
- In the Nature of document option that appears, select the following required option(s).
- Free flow – Use this option to extract the information from the unstructured and semi-structured documents.
- ID – Use this option to extract the information from the documents such as Driving License, Passport, and more.
- Form – Use this option to extract the information from the documents such as Insurance Application form, Bank Account opening form, and more.

Note: You can select multiple options for the Nature of Document, as some documents may be a combination of Forms, ID cards , and Free flow formats.
- In Asset Visibility, choose any one of the following options.
- All Users (default): Choose this option to share the asset with everyone in the platform who has the appropriate permissions to view and manage the asset.
- Private: Choose this option to ensure that only you, the owner, can view and manage the asset.
- Click Create and proceed to select documents.
Step 3: Select documents
- In the Document Sets section, select or search for the document set for annotation.
- The files in the document set will be displayed in the right pane of the page.
- To annotate files, check the boxes next to the documents.


Note: Select a minimum of 10 documents to proceed for training. However, we recommend having a volume of 25 documents or more to provide a higher accuracy measure.
- Click on Proceed and you will land on the annotation page.
Step 4: Annotate and train
Annotation refers to the process of labeling documents against the Document types defined as part of the creation step.
Users must have any one of the following policies to annotate a Classifier Asset:
- Administrator Policy
- Creator Policy
- Annotator Policy
Annotate

- You may choose/select one or more documents individually and tag to the respective Document type displayed on the right pane of the page.
- The selected documents are successfully tagged to the respective Document type.
- To choose multiple documents, utilize the Section option that groups similar documents.

Train
- Once all the documents are annotated, click on Train. While the training is in progress, you may choose to go back to the Asset Studio and you will see a unique entry for your asset with status Training in progress. Once completed, the status will change to Training completed at which point, you can access the asset from the Asset Studio to review the results.
Note: During training, the documents are split into an 80:20 ratio, with 80% of the documents used for training and the remaining 20% for testing. During the training phase, the asset effectively learns from the provided training documents to develop a predictive model for identifying Document types. It leverages the knowledge gained from these training documents to accurately predict the Document type of the test documents.
Step 5: Review results and validate

Review results
- Click on the Asset in the Asset studio listing page and you will be directed to the Accuracy Results page.
- You can view the accuracy percentage which is a metric used to evaluate the performance of the asset.
- You can gain a comprehensive overview of the total documents used, categorized based on their purpose for training and testing.
- You can view the complete list of documents used for testing the asset.
- You can also review the predicted Document type against the annotated file and compare the results. The results are provided under 2 categories, namely:
- Predicted correctly, where the annotated and predicted Document types match
- Predicted incorrectly, where the annotations and prediction do not match.
- For each prediction you will find a confidence score which determines the level of confidence of the model to make the right prediction from the training provided.
- If the accuracy of the Asset is lower than expected, use Fine-tune to improve its accuracy. Click on Fine-tune, to proceed with fine-tuning the Asset. This involves adding more document samples with ample variations to the existing training data to improve the Asset’s performance. For more information about Fine-tune, see Fine-tune a Classifier Asset.

Validate
To test the performance of the classifier asset on a new set of documents, use Validate.

- Click on Validate placed next to Review Results.
- Select a new document which was preferably not used during the training process and click on Proceed to initiate validation.
- Once the validation is completed, you can see the accuracy against each document.
Step 6: Publish the asset
- If the desired accuracy has been achieved, click on Publish.
- Enter the name and description for the asset.
- Upload a sample image for a visual representation.This is optional.
- Click on Publish and the status of the asset changes to Published and can be accessed in the Asset Studio.
Note: Once the asset is published, you can download the API and its documentation. The API can be invoked independently or used within a specific use case. If you wish to consume this asset via API, see Consume an Asset via API page.
It is recommended to use URL aliases, if you wish to consume multiple versions of an Asset. It allows you to consume its different versions via a single API. For more information, see URL aliases.
You can also consume this asset in the Asset Monitor module. For more information, see Consume an Asset via Create Transaction page.