Managing an Asset involves a range of actions aimed at modifying its name, Asset image, removing an unwanted Asset and downloading its API.
Users must have any one of the following policies to manage an Asset:
- Administrator Policy
- Creator Policy
This guide will walk you through the below steps on how to manage an Asset using the following operations:
Rename an asset
Renaming an Asset refers to the action of assigning a new name to it. This process allows the users to modify the existing name and update it with a new one, facilitating better organisation and making it easier to locate the Asset within the platform.
- Head to the Asset Studio page and use the Search bar to find an Asset.
- Click
on the Asset that you wish to rename, and then select Rename.
- In the Rename window that appears, update the Asset name, and then select OK.
- You can now view the updated Asset name for that Asset.
Delete an asset
- Head to the Asset Studio page and use the Search bar to find an Asset.
- Click
on the Asset that you wish to delete and then select Delete.
Upload an image
- Head to the Asset Studio page and use the Search bar to find an Asset.
- Click
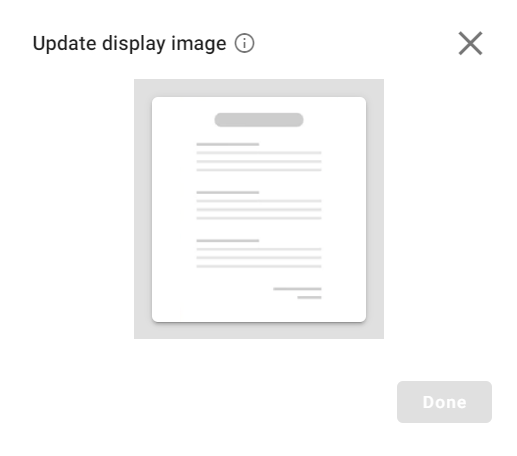
on the Asset for which you wish to update the image, and then select Update display image.
- In Update display image window that appears, click move the cursor on the image and click
to upload an image from your local system.

- Click Done.
- You can now view the updated image against the Asset.
Download API
After publishing an asset, you can download it as an API and integrate it with your business system.
Note: Download API feature is applicable only for the Published Assets.
- Head to the Asset Studio page and use the Search bar to find an Asset.
- Click
on the Asset you wish to use and then select Download API.
- The API file will be automatically downloaded to your system.
 Define Flow Control